Stop at Stop Signs, and record, under 1TB

The third time’s the charm. After over a week of trying to get the Tesla DashCam to work, a USB Stick arrived yesterday. After again formatting with a GUID Partition Table, a FAT32 file system, and adding the /TeslaCam directory, I plugged it into #CO2Fre.

USB Stick
Installed a USB Stick with GUID Partition Map, FAT32 drive format and /TeslaCam in its root folder.It worked! © 2020, Jeffrey C. Jacobs

When I then looked at the screen, lo and behold, the DashCam was restored!

DashCam Restored
The TeslaCam is back! The USB Stick did the trick © 2020, Jeffrey C. Jacobs

But that wasn’t all! Turns out I also got the 2020.12.6 TeslaOS. Eager to install, I hit the install now button because I knew this update would be adding auto-stop at stop signs and stop lights. The quirk with the update is that it will even stop at green lights, so if you want it to keep going you need to keep your foot on the accelerator to get it to run the green light. It’s probably okay, though, to let it stop on yellow or red. Also, it won’t turn for you; to do that, you need to take control of the wheel.

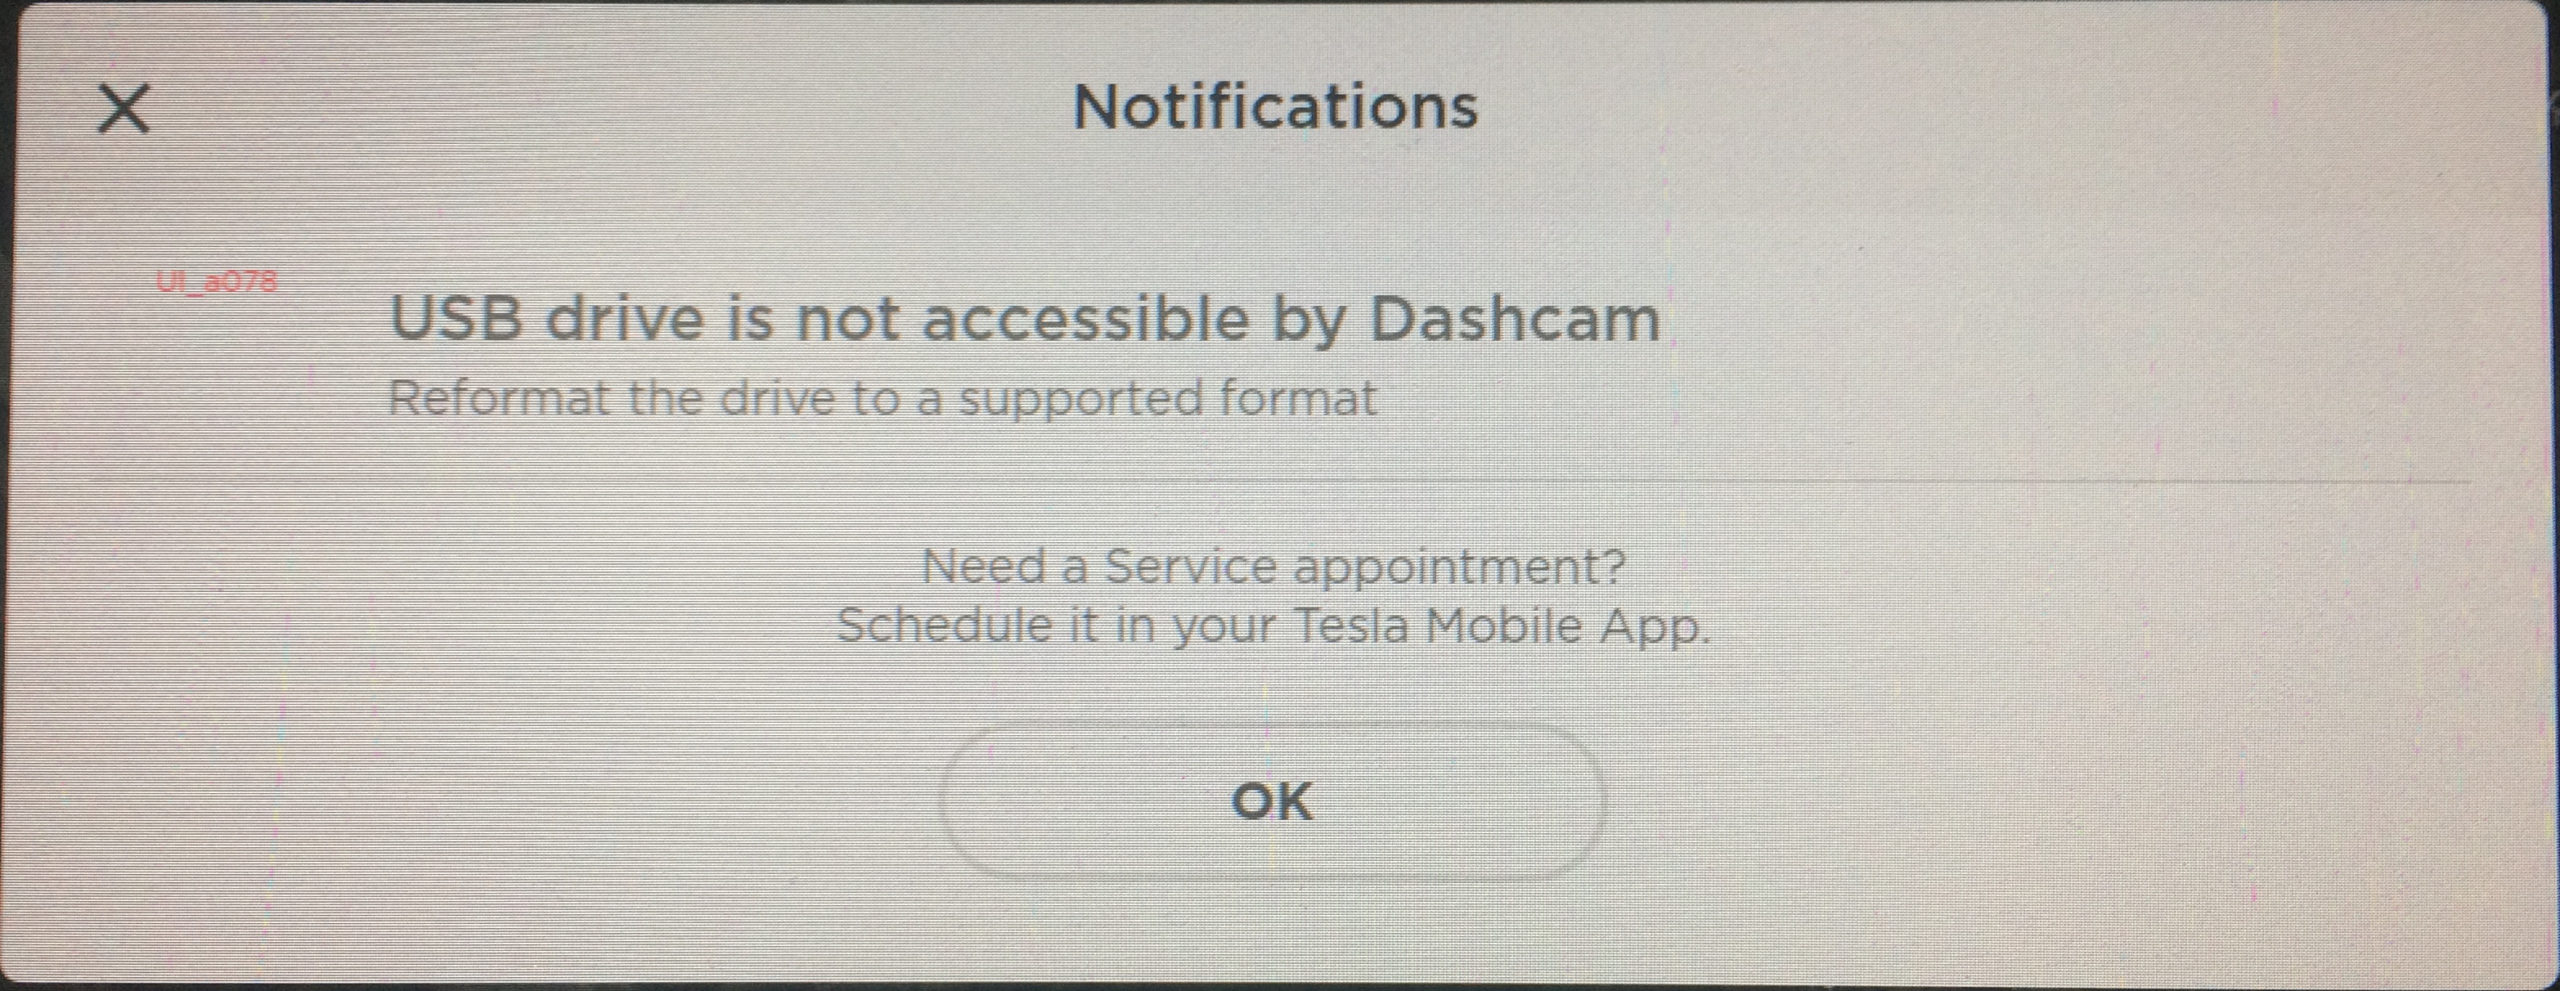
Finally, once that was installed and Stop at Traffic Lights was activated, I decided to have another go with my 2TB SanDisk Extreme SSD. Because it was also formatted properly and had the same directory structure as the USB Stick, I had a hunch it was because the drive was a whopping 2TB that the Tesla couldn’t recognize it.

With a little work, I re-formatted the drive as GUID, with one FAT32 partition with 996GB and another 1TB of free space. After adding the /TeslaCam directory, it worked like a charm!

In conclusion, although the 2TB SanDisk Extreme SSD drive works with Tesla, Tesla cannot understand drives above at least 1TB. This seems like a failing of the TeslaOS, but one I can live with. After all, my long-term plan is to have a Raspberry Pi Zero W installed and use the 2TB drive for portable backups.

Now that I have my DashCam back, and have the automatic stopping at stop signs, I can’t wait to take #CO2Fre for a spin. I hope to be cruising on a cloud soon!

DashCam Fail Code

TeslaCam, Tesla Can’t, 2.0

I really wanted to have my DashCam fixed by today. I really did. But then the hypochondriac got involved, called Tesla, and have them tell me some least common denominator information information that they wouldn’t accept there was a problem with my Tesla unless I tested it with a USB Key [sic]. As I didn’t have any USB Sticks handy, I ordered one that was Tesla branded, as well as a faster, High Endurance MicroSD Card and new adaptor.

The USB Stick won’t arrive until later in the week but the flimsy excuse from the hypochondriac threatened to call the police if I didn’t cancel my service request and wait for my USB Stick order to arrive. She said some lawn care folks would be here today but of course they didn’t come, so I ended up cancelling my appointment for nothing.

However, not wanting to give up, I got my MicroSD Card and tried it in #CO2Fre. It was formatted as exFAT so I formatted it as FAT32 and plugged it into #CO2Fre. Nothing.

I did some more research and realized that most drives come formatted with an MBR to allocate its partitions. I pulled the SanDisk Extreme SDD #CO2Fre and it too had an MBR. Since Tesla recommends using a GUID Partition Table, I opened up DiskUtility and reformatted the entire drive with a GUID Partition Table and a FAT32 File System.

GUID Drive
This is what DiskUtility shows for the SanDisk Extreme SDD 2TB Drive. Under the heading, you can clearly see the drive is formatted as a GUID Partition Map, as requested by Tesla

This went quickly and in the end I had the system correctly formatted as per Tesla’s specifications. The drive was formatted with 2TB of free space.

FAT32 Partition
This is what DiskUtility shows for the one partition on my SanDisk. The Partition is called TESLACAM as FAT32 only supports uppercase names. Below that, you can see the format is indeed FAT32, as requested by Tesla

Finally, I added the TeslaCam folder.

Drive Contains TeslaCam Folder
This is the root folder of the SanDisk drive. You can clearly see a TeslaCam folder in the root, as required by Tesla

With the drive reconfigured to Tesla’s specifications, I donned the rubber gloves and tried the SanDisk SDD in #CO2Fre. Finally, I got a camera in the toolbar. Only there was an X on the Camera and a warning label. When I clicked the warning, #CO2Fre gave me a mysterious UI_a078 error,

DashCam Fail Code
Despite doing everything right, using an externally verified SanDisk Extreme SDD with a GUID Partition Map and a FAT32 filesystem with a TeslaCam folder, this is what #CO2Fre tells me. I was unable to verify what the UI_a078 message means and more conversations with Tesla recommend I schedule another appointment

Because the hypochondriac doesn’t want them to come to my house to fix #CO2Fre, she insisted I call Tesla’s tech support. I reiterated the issue to the support staff, including the note about UI_a078, and told him about my problems obtaining a USB Stick, and he recommended I make a new appointment as the Tesla Mobile Team Member would have a USB Stick he or she could use to test the USB ports of #CO2Fre.

Of course, the hypochondriac vetoed this idea and instead she ordered a couple, cheap USB Stick that should get here by Sunday. If they don’t work, I may be able to get support to come out next week to help me finally resolve this most vexing issue.

Alas, until then, I won’t be cruising on the cloud.